Tuesday, December 11, 2012

Retelling and Sequencing Strategies

Build-A-Bot Comprehension Strategy
"Ten Seconds to Win It Challenge"
Skills:  sequencing and retelling

Used a blank polka dot border plaque from Teacher Created Resources to write the directions for the game
Start with Pre-made printed die cuts.  These are from Carson Dellosa
On the back, divide the robots into puzzle pieces.  On each piece write one of 7 questions/retelling ideas:  1)  Name the characters in the story 2)  Tell where and when the story takes place 3)  What is the main problem in the story?  4)  Name an event at the beginning of the story 5) Name an event at the end of the story 6) Name an event in the middle of the story 7)  What happens in the end?  How is the problem solved?


Before I cut them apart, I color coded the back of each robot with a different colored marker just in case the pieces get mixed up.

Then I carefully cut the puzzle pieces out.  I am laminating them for durability.

There are two strategies here:
1)  Retelling Stick:  On a paint stick, I placed the fuzzy side of some Velcro along the length of the stick.  Icons were then created to represent setting (time and place), characters (designed for a 3rd grade boy can't you tell!), problem, buttons for beginning, middle, and ending events, and solution.  Icons can be removed and added as a story is being sequenced back together or   used in many different ways.
2)  Retelling Glove:  This idea was one I found on Pinterest.  The idea came from Ms. Young at Thirdgradethinkers8.blogspot.com.  She described how she turned a stray glove into a retelling prop at her guided reading table.  I happened to have a glove that has had a missing partner for a while.  I was never sure why I kept it, but it sure came in "handy" for this activity.  Like Ms. Young, I used Velcro to attach the icons.  They are the same icons I used for my retelling stick.  My glove has a few more components than hers.  The student can put the glove on their hands and add the icons as they retell the story in sequence.  I also added a connections heart to remind students to make personal connections.


Next I made a bookmark by tracing a hand.  This is the top side.    I used scrapbook paper that I already had and plan to laminate the bookmark for durability
This is the backside of the same bookmark.  I colored the back with a marker first and wrote the components of the 5 finger retelling with connections on the hand with a fine tip Sharpie.


Tuesday, December 4, 2012

Vocabulary and Sight Word Game

Gear up Vocabulary!


Both of these games use the same basic format.  They have a number and letter coordinate grid system.  I use programmable cubes with cards that I made to fit inside.  One has letters the other has numbers.  Other supplies needed include cover up pieces and the game cards to fill in the grid.

Tips and suggestions for constructing the game:
  • For the cover up chips, I purchased seasonal pre-made die cut pieces at my local teacher store.
  • Custom made cover up chips can be made using a Cricut cutting machine (I used mine to make gears and wheels for my robot themed game when I couldn't find anything at the teacher store)
  • Laminate all of the pieces for your game for durability
  • Use a large pocket chart to organize the game
  • Cut card stock or index cards into 3x3 inch squares. 
  • Use a computer program to create labels for both sides of your index cards/card stock 
  • Use different shaped labels for the front and the back of the game cards to eliminate confusion for students when they are playing the game.  Especially with the third grade center,  I found the students wanted to hold the cards and not just interact with them by flipping over in place so having a definite shape for the front and back is helpful when they return the cards to the pocket chart.
  • Use labels to create the number and letter grid system and pre-made colorful die cuts.
  • Plastic photo boxes work well to store game pieces and/or cover up pieces
  • Smaller dice, foam dice, wooden cubes can all be modified if you cannot purchase the programable cubes I have or if you are modifying something you already have in your classroom
  • If you are creating more than one set for a set of centers, consider labeling which set number each of the individual cards belongs to in the corner on the back side.  This will make it easy to organize the cards and store them.
  • Looking for a paper version of this game?  I will try to upload and add a photo later.  I have a version I call "Capture the Word" that I use with kindergarten to practice sight words at home.  I have a blank grid template with 36 squares that I customize with the words a student needs to work on.  The student is sent home with a zip bag with 2 different colors of colored cubes, a letter die and number die that I programmed similarly to my foam dice we use in class, and directions for playing the game.  

To Play the Game:  
  • First a student rolls the dice.  
  • The student locates the card on the grid using the number and letter on the dice.
  • If the card has not been covered, the student reads the card.  (for the sight word game, they must say the sight word correctly, and for the third grade vocabulary game they must follow the directions on the cards)
  • If the card/question is read correctly, the student may cover the card up with their game piece.  The student's turn is over and the next student rolls the dice.
  • If the student rolls the dice and finds that the card on the grid has already been covered, then the student's turn is over.
  • Modifications to the rules can be made to speed up the process once the grid has been nearly covered.
  • The player (or team) with the most pieces in the end is the winner (if you choose to count)

This version is called "Hoot and Cover"  I use it with varying sets of sight words for kindergarten.  You can see it is modified to have only 25 words.   In the early stages of kindergarten, I have the words on the chart more than once.  On the dice, I programmed one letter and one number twice since the grid was reduced in size.  To be able to cover a sight word, the student must correctly say the sight word.
This version is called "Gear Up Vocabulary" and is being used with a third grade student I am tutoring.  I used a robot theme on this version.  Because this was also designed to be a center in a third grade classroom, I included directions (top right of the picture) and a word bank (top left of picture) which can be removed and used during the game.  The robots contain the letters and numbers for the grid.  This picture shows the game with the second set of cards as described below.

This version also has two sets of cards so students can visit the center twice during the week.  For this week, there were 9 vocabulary words.

Set One:  2 sets of 9 cards with the vocabulary word on the front and the definition on the back.  2 sets of 9 cards that had the definition on the front and the vocabulary on the back.

Set Two: 4 sets of 9 cards.  The first 9 cards asked for a synonym of the vocabulary word.  The second set asked for an antonym of the vocabulary word.  The third set used a cloze procedure and students must fill in a vocabulary word within a blank in the sentence based on the context of the sentence provided.  The final set asked students to identify the category of the part of speech the word fell into.


Monday, September 3, 2012

First Day of Pre-K Gifts

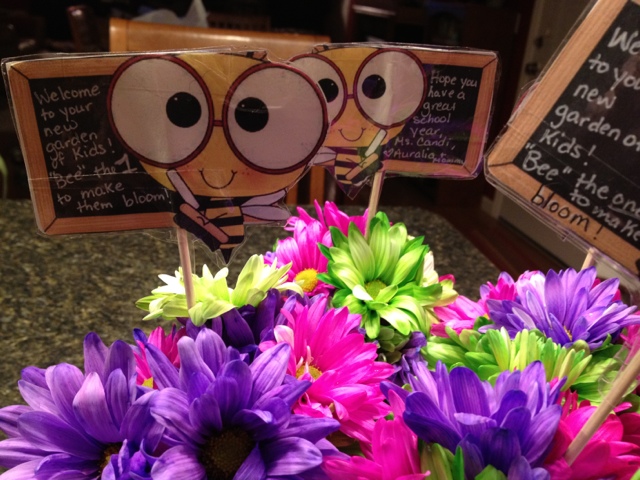
This past Thursday was my daughter's first day of Pre-K for the 2012-2013 school year. Here are some pictures of the gifts we made for her teacher and classroom aide for this year as well as the new teacher in her old room and the aide who was with her last year.